REVIEW · BUDAPEST
Budapest Photo Walks
Book on Viator →Operated by Budapest Photo Walks · Bookable on Viator
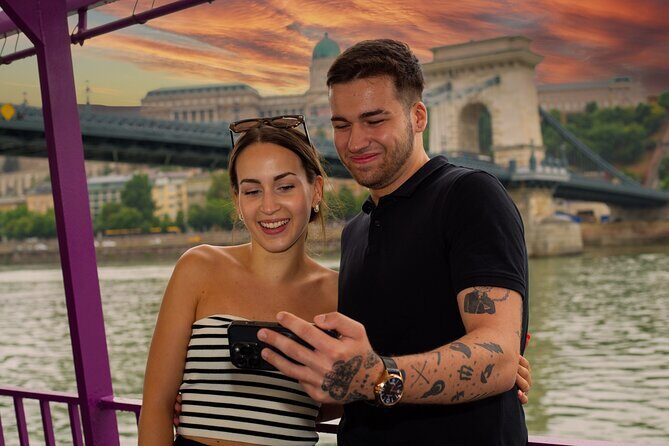
Budapest photographs differently at night. I love the flexible day-or-night plan and the included tripod with beginner-friendly composition and camera-setting tips.
You’ll meet at Batthyány tér by the M2 metro line, and the coaching style is the practical kind: clear, step-by-step guidance for what to change and where to aim. I also saw praise for a guide named Zoltan, including patient explanations and strong picks for night shots.
One thing to keep in mind: the exact route and timing can shift with weather and your fitness, so it’s not a rigid, clockwork checklist of stops.
In This Review
- Key highlights to know before you go
- Why a Budapest photo walk beats wandering alone
- Price and logistics: what $179.74 really covers
- Day vs night routes: choosing the mood that fits your photos
- Gellért Hill: your best lesson in composition and positioning
- The Chain Bridge view at Castell de Buda (night tour only)
- Liberty Bridge: where you bring Gellért Hill into the same frame
- Batthyány Square and the Parliament-style viewpoint
- What the photo instruction actually means for beginners
- Group size, pace, and what the tour feels like on foot
- Practical tips to get the best results
- Who should book this photo walk?
- Should you book Budapest Photo Walks?
- FAQ
- How long is the Budapest Photo Walk?
- What does it cost?
- Can I choose a day or night itinerary?
- Is a tripod included?
- Where do we meet for the tour?
- Where does the tour end?
- Is the tour offered in English?
- How many people are in each tour?
- Do I need private transportation?
- What is the cancellation policy?
Key highlights to know before you go

- Up to 2 people per walk: a more personal pace than most sightseeing groups
- Tripod included: helpful for night exposures and steadier framing
- Day or night options: you can match the city mood to your schedule
- Gellért Hill covers multiple viewpoints: you’ll cover 4–5 main angles based on what you need
- Viewpoints are admission-free: no paid entry expected for the photo spots on the route
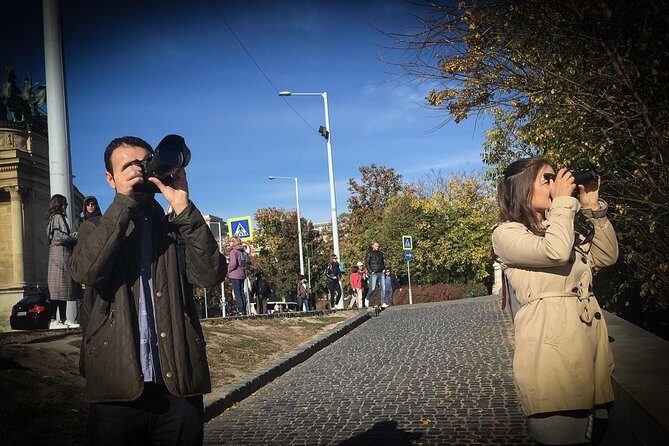
Why a Budapest photo walk beats wandering alone
Budapest is built for photos—especially along the Danube. But the difference between a nice vacation picture and a great one often comes down to timing, angles, and how you frame the scene. This photo walk is designed to teach that fast, without turning your trip into a classroom.
What I like is that you’re not stuck with one preset route. You choose a daytime or nighttime itinerary, and you can ask for extra time or different angles as you go. That flexibility matters in Budapest, because light changes quickly and crowds move around the main viewpoints.
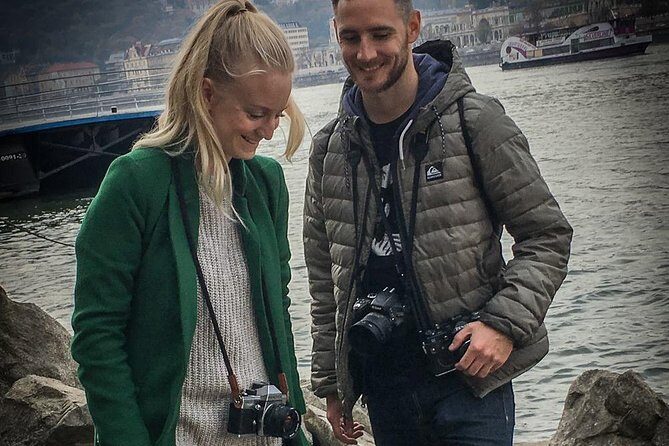
Also, the walk is small. Maximum of 2 travelers means you’re not fighting for attention when you ask how to set your camera for low light or how to avoid blurry shots at night.
You can also read our reviews of more tours and experiences in Budapest.


Price and logistics: what $179.74 really covers

At $179.74 per person for a 2 to 3 hour outing, it’s not a budget deal. But the value is clear when you look at what’s included and how it’s run.
You get:
- A customizable route (day or night)
- Mobile ticket access
- English-language guiding
- A tripod included
- A small group (max 2)
The tripod alone can make this feel more reasonable if you don’t want to rent one or carry your own. Night photography in Budapest often means slower shutter speeds, and a tripod helps you keep things sharp and controlled.
What’s not included is private transportation. You’re walking between viewpoints, so plan on being comfortable on your feet. The meeting point is in a simple, transit-friendly spot: Batthyány tér near the M2 metro line (in front of the station). The start time and the end point are agreed at the beginning of the tour, so you’re not guessing where you’ll finish.
Day vs night routes: choosing the mood that fits your photos
Budapest at night is a magnet for photographers. The river lights, the reflections, and the glow from major landmarks can turn familiar views into something more dramatic. This walk supports that by offering a true night tour and building the route around nighttime-friendly viewpoints.
If you prefer daylight:
- You still get big city viewpoints from the hill areas
- You’ll stop at spots like Liberty Bridge and Batthyány Square for clean framing in brighter conditions
If you prefer night:
- The walk adds a stop at Castell de Buda with views that include the Chain Bridge
- The guide focuses on night spots and the practical settings that help your camera handle darkness
Tip: if you’re a beginner, day can help you learn composition without rushing. Night is better if you already know the basics and want better results quickly. The nice part here is that you’re not locked into one style.
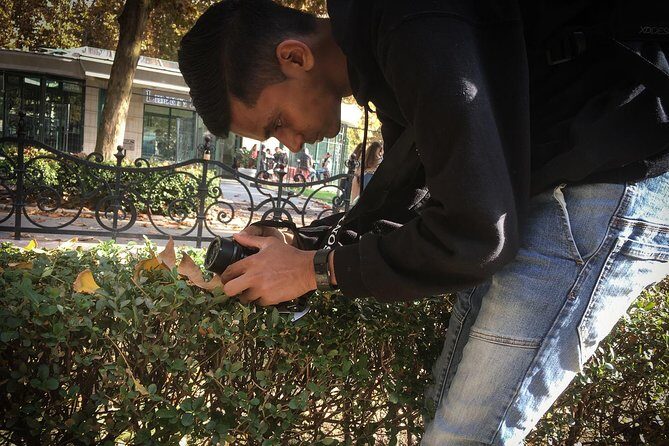
Gellért Hill: your best lesson in composition and positioning

Gellért Hill is the heart of the experience. This stop is part of both the day and night tours, and it’s where you get the most help turning “I see a view” into “I know how to frame this view.”
You can cover 4–5 main view points depending on your personal requirements and fitness. That’s a big deal. Instead of taking a single photo from one spot, you can compare angles and learn how small changes in where you stand affect the final image.
The walk is flexible here:
- Extra time and extra places can be agreed on
- What you cover can change based on weather
What you’ll be practicing in real time:
- Composition choices (where to place the horizon line and how to lead the eye)
- Camera settings if you want that help, especially useful when you’re facing changing light
- Tripod use, particularly if you’re doing the nighttime version
Possible drawback: Gellért Hill can be physically demanding depending on where you choose to walk and how long you stay. The tour adapts to your fitness, but it’s still a hill viewpoint. If you’re worried, you’ll want to set expectations early and ask the guide to prioritize easier paths.
The Chain Bridge view at Castell de Buda (night tour only)
In the night tour, you’ll head to Castell de Buda. The focus here is a good-angle nighttime view that includes the Chain Bridge, taken from a spot described around a roundabout area.
Why this stop works for night photos:
- You get a landmark-centered scene with strong visual structure
- Night lighting adds contrast, which can make your composition choices easier to see
- It’s a useful moment to practice steady tripod framing and exposure control
How long it is: about 15 minutes at this specific stop. That’s enough time to set up, test your settings, and grab a few angles without burning the entire tour waiting for ideal lighting.
Watch-outs: since weather can affect the route, your exact viewing setup can shift. If conditions are poor, you might spend more time on nearby angles that still give you strong results.


Liberty Bridge: where you bring Gellért Hill into the same frame

Liberty Bridge (Szabadság hid) is another stop that works in both daylight and night. You’ll get a viewpoint of the bridge itself, plus a view that includes Gellért Hill—so you’re photographing the city layered in depth.
That matters because it gives you a more cinematic feel than a single landmark shot. You can frame:
- The bridge lines
- The river area
- The hill viewpoint behind it
Time at this stop is about 20 minutes. With a tripod included, you can try a couple styles:
- Cleaner daytime compositions (if you’re on a day route)
- Night reflections or steadier long exposures (if you’re on the night route)
Practical note: because this is a bridge area, you might want to be mindful about safe spots to stand while setting up a tripod. The guide can help you choose stable places that still give good sightlines.
Batthyány Square and the Parliament-style viewpoint
Batthyány Square is built for classic Budapest photos, including a view centered on the Parliament area. This stop shows up in both day and night versions, which makes sense: the landmark reads well in almost any light.
In terms of time, expect about 15 minutes here. It’s a short, focused stop, so use it strategically:
- If you’re learning composition, use this moment to practice how you want the landmark placed relative to the rest of the scene.
- If you’re working on exposure, treat it like your test zone. You’ll get contrast, architectural lines, and plenty of cues for adjusting settings.
The tour’s overall pace depends on your fitness and requests, so don’t feel like you must rush. But you also don’t want to waste this stop wandering—set up, shoot, adjust, then move.
What the photo instruction actually means for beginners
The coaching part is one of the best reasons to book. This walk is aimed at people who want help with:
- Composition
- Camera settings (if needed)
That wording is important. It’s not just a route guide. You can ask questions about how to shoot the scene you’re seeing right now. For beginners, the biggest frustration is usually uncertainty: you can see the view, but you don’t know which setting or framing choice will improve the photo.
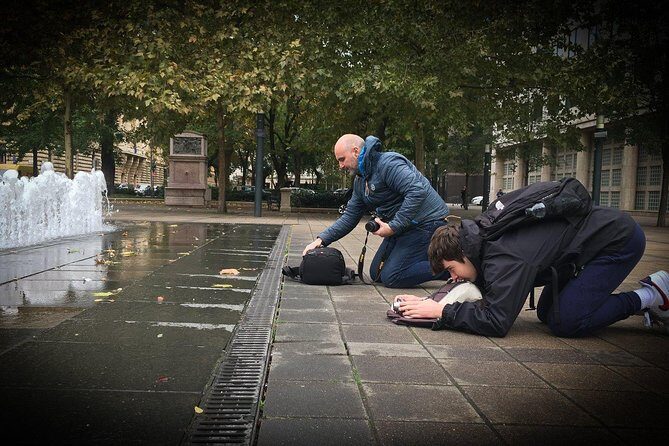
With a small group and a tripod included, you can slow down enough to learn without holding everyone back. You also get off-the-beaten-track vantage points, meaning you’re not only shooting from the most crowded angles. That helps your photos look more like Budapest and less like another generic tourist postcard.
Also worth noting: Gellért Hill is described as part of both day and night tours, so you get a chance to understand how the same area changes depending on lighting. Even if you only choose one tour, the guide’s instruction can point out what to watch for when conditions shift.
Group size, pace, and what the tour feels like on foot
This is a small outing: maximum of 2 travelers. That changes the whole experience. You’re more likely to:
- Get your questions answered quickly
- Get help adjusting your setup
- Spend a little longer at a viewpoint if you’re finding your preferred composition
The pacing is also adjustable. The route depends on weather and your fitness, and the guide can agree on extra time and additional places. That flexibility is useful if you have a specific kind of photo in mind (for example, if you want fewer stops but more photos per stop).
Typical tour flow feels like:
- Start at Batthyány tér near the M2 metro station
- Cover multiple viewpoint targets in the 2–3 hour window
- End at a point agreed with you at the start (so you don’t have to plan your return blindly)
Practical tips to get the best results
If you want your photos to improve fast, plan for the realities of Budapest lighting and night shooting.
- Bring a camera strap and spare battery if you have one. Night sessions can drain power, and you’ll be moving between spots.
- If you’re using the tripod included, practice setting it up quickly. You don’t want to spend every minute assembling it.
- Wear comfortable shoes for hill areas like Gellért Hill. If your legs give out, the tour will still adapt, but you’ll get more out of it if you can keep up.
And when you arrive at each stop, decide what you’re trying to capture before you start shooting. The guide can help you refine that goal, but your own focus helps you learn faster.
Who should book this photo walk?
This tour is a great fit if you:
- Want a practical introduction to composition and camera settings
- Prefer a guided route but still want flexibility
- Like the idea of night photography with help selecting spots and settings
- Don’t want to manage a tripod rental or bring your own
It may be less ideal if you:
- Want a fixed, minute-by-minute sightseeing itinerary
- Are not comfortable with walking between major viewpoints
- Only want a quick checklist of landmark photos with no technical guidance
Given the small group size and the emphasis on teaching, it’s especially good for first-timers who don’t want to feel lost.
Should you book Budapest Photo Walks?
If you want Budapest photos that look intentional—set up, composed, and properly exposed—this is an excellent match. The combination of a customizable day/night plan, a tripod included, and hands-on instruction makes the time feel targeted rather than generic.
My call: book it if you’re serious about improving your images and you like the idea of learning while you shoot. If you’re mostly chasing quick selfies and don’t care about settings or tripod shots, you might feel the instruction is more than you need.
That said, it’s very highly rated: an average score of 4.9/5 with 97% recommended, and it’s capped at just 2 people—exactly the kind of setup that tends to work well for people who want real help instead of rushed sightseeing.
FAQ
How long is the Budapest Photo Walk?
The tour runs about 2 to 3 hours, depending on the itinerary and what you request.
What does it cost?
It costs $179.74 per person.
Can I choose a day or night itinerary?
Yes. You can pick between day or nighttime options with flexible dates and times.
Is a tripod included?
Yes, a tripod is included with the tour.
Where do we meet for the tour?
The start is at Batthyány tér HBudapest, 1011 Hungary, in front of the metro M2 station.
Where does the tour end?
The end point is always agreed with guests at the beginning of the tour.
Is the tour offered in English?
Yes, it is offered in English.
How many people are in each tour?
The experience has a maximum of 2 travelers.
Do I need private transportation?
No. Private transportation is not included, so you should expect to get around on foot.
What is the cancellation policy?
You can cancel for a full refund if you cancel at least 24 hours before the experience’s start time. Free cancellation is available up to 24 hours in advance.